Integration of 3D characters into live-action photography is one of the most exciting and rewarding CGI tasks we do around here. The following is a brief run-down on how we accomplished this for the Louisiana Department of Environmental Quality’s “Make Changes, Be the Solution” spot.
The first step, of course, was to design and build our 3D model. We began by collecting photo resources of Crawfish from the web. The next step was turn this hideous creature into an endearing character. We created numerous pencil renderings, trying different leg locations, postures and sets of facial features.
At the end of this stage, we reviewed the design with the client and proceeded to realize the design in our 3D software.
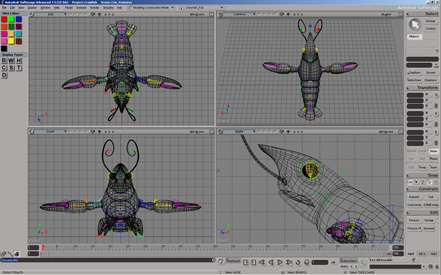
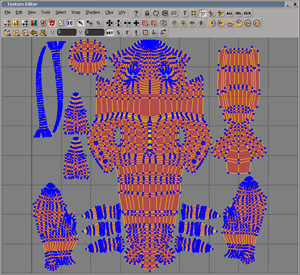
Using Softimage XSI, a 3D model was created using subdivision surfaces. Continuing in Softimage, we created UV coordinates and the “rig” to animate the character.
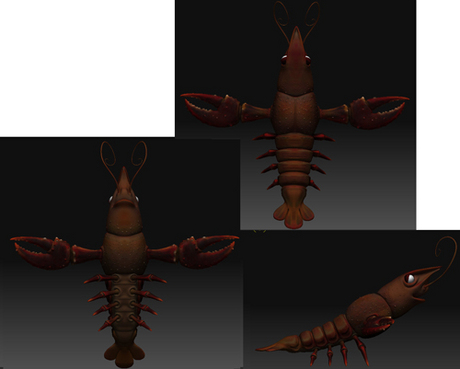
Next, the model was taken into Z-Brush. Here, fine details and color textures were created. Color texture, bump, specular and displacement maps were exported for use in Softimage.
Back in Softimage, a shader was built for the crawfish using the maps generated from z-Brush.
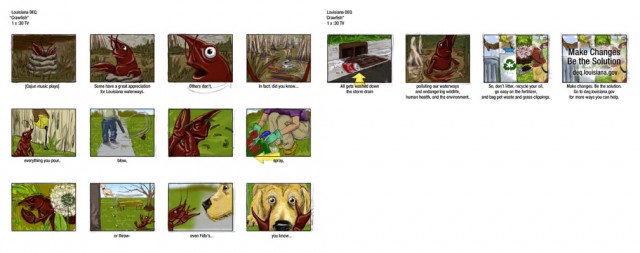
A full-color storyboard was produced to work out the sequence of shots. An animated version was also created to adjust the amount of screen time devoted to each shot, the transitions from one shot to the next, and the timing of the copy.
While the animation department was creating the “talent”, our production department scouted locations. A meeting was held with the client where the script and storyboards were reviewed and the locations selected. With our character created, our shots blocked out, and our locations selected, we scheduled one day of shooting at two locations.
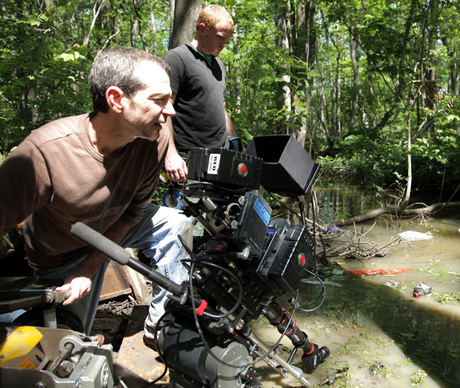
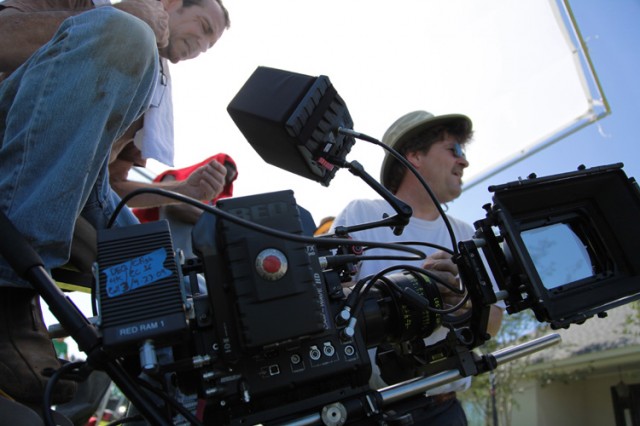
Armed with our Red cameras and snorkel lenses to accommodate the ground-level shots we would need, we set out to the BREC’s Bluebonnet Swamp to shoot our first set of plates.
After capturing our swamp shots, the company moved to our second location to shoot our remaining plates. While on set, we also captured light probe images using a 2″ polished steel ball bearing for use in the rendering stage.
After completing photography, the RED footage was taken into Final Cut Pro and an offline edit of the spot was assembled. Once the edit was completed, 10-bit DPX sequences of the shots were rendered out and placed on our SAN.
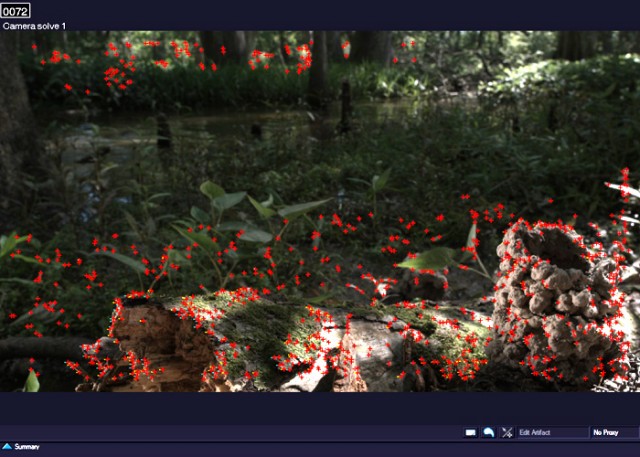
While one artist used an Autodesk Flame system to perform color grading on the plates, another was working with 2D3’s Boujou to perform the matchmoving process. This creates a camera in the digital world that precisely duplicates the movement of the actual camera on set.
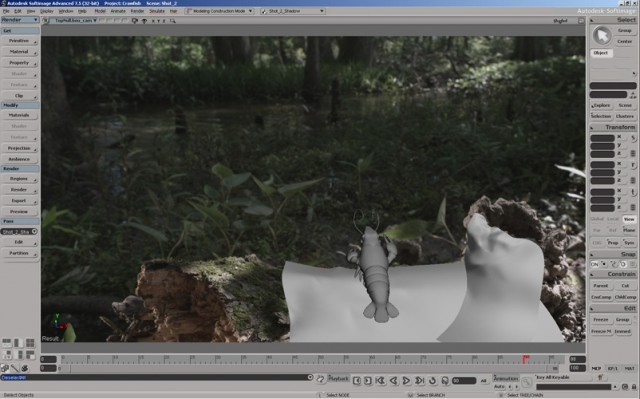
With the matchmoves completed, the camera data and background plates were taken into Softimage along with the character for final animation. Prop geometry was added to the scene to “catch” shadows that would be cast by the digital character for use in the compositing stage.
Once the animation was completed, the 3D scenes needed to be lit to match the background plates and prepared for rendering. To duplicate the on-set lighting conditions and thus improve the integration of the character into the plates, we used image-based lighting techniques.
Multiple exposures of our light probe were captured at each set and in each position our crawfish would occupy. Each set of exposures was taken from the same POV as the shooting camera to insure the direction of the lighting would be accurate. These exposures were later combined into an HDR image using Adobe Photoshop.
The HDR image created by Photoshop was then imported into Softimage and mapped onto a sphere. Using Softimage’s Rendermap tool, we generated a flattened projection of the LP Sphere to use as an environment map in our Mental Ray renderings.
Finally, the shots were ready to be rendered. Our frames were rendered at full HD using Mental Ray on a Blade Center based 64-core render farm managed by Frantic Films’ Deadline Render Management software. Multiple passes were rendered for color and specular channels as well as separate renders for shadows and various matte passes to be used in compositing.
Once the frame renders were completed, they were composited in Adobe After Effects with the color-corrected frames from the Flame. Also in After Effects, additional effects and titling were added to complete the visuals.
Last, but not least, came audio post-production. After presenting many samples to the client, we recorded the voiceover talent they selected here in our studio and used Steinberg’s Nuendo software to add music and sound effects to finish out the spot.
The final spot was then converted to all of our deliverable formats which, for this project, included SD and HD versions for broadcast, an MPEG2 encoded version for DVDs, and Quicktime and Windows Media versions for web use. An additional master copy was laid off to our HDCAM-SR deck and all project files were archived to LTO-4 tape.
Although the details of each of the tasks above can be elaborated on at length, these are pretty much the steps required to produce a spot with integrated CG characters. Thanks to Rodney Mallet and everyone at DEQ for giving us the oppurtunity to create this.

